Today was the final performance day. It was amazing to see how the other students prepared their performances. We had our small stage and could perform for around 5 minutes. We had a lot of fun preparing and simultaneously taking the movements. It was a bit of shame that we couldn't take much air as … Continue reading 14. Final performance
Author: yijuyoung290
12. Developing further
We were trying hard to keep our prototype to have more impact with the spike. The material we wanted to use was the silver fabric, which would have a better nuance of fish-like vibe. We also tried very hard for the arduino to work, as that was one of our priority. Fortunately, with the help … Continue reading 12. Developing further
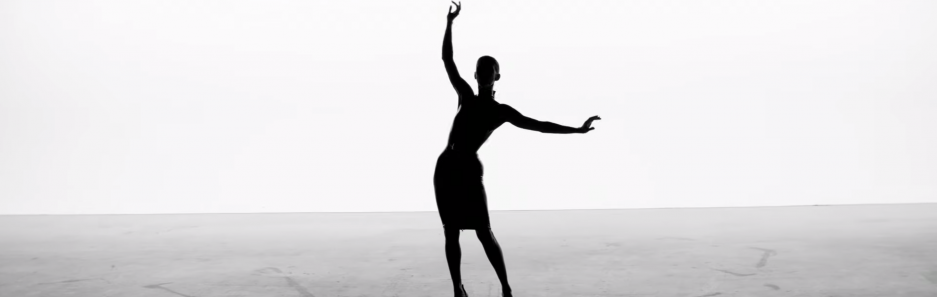
11. Choreography
Today we did a live performance and it was an interesting experience for us to perform in front of audiences. Especially the wearer had to come out a lot because of the screaming that made our wearable inflate to express her anger not only audibly but also visually. The inflation as well as the spikes … Continue reading 11. Choreography
10. Scream and the Blow fish
After a long discussion, we decided to connect the blow fish metaphor with scream, to have an extreme situation. We thought about making a human-sized air balloon so that it can inflates when a person wearing this wearable is screaming. It resembled a hot air balloon, but it should have a lot of spikes. We … Continue reading 10. Scream and the Blow fish
9. The Catwalk
The catwalk was in the afternoon, and we had a major tech-problem for this. It was very hard for us to get the things right fir the what we had unguided before, We wanted ti have a working prototype, so we decided to have some time for one person working on the code while the … Continue reading 9. The Catwalk
8. Material investigation – using the silicon
So for the next step, we had to ask round about how to use the silicon material. This was because we would have to learn how to work with it. First, we learned that it needs a mould to let the mix of silicon to become solid. We tried two types of moulds. We first … Continue reading 8. Material investigation – using the silicon
7. Making the life-size prototype
Connecting the arduino with the prototype We made the life-size prototype with the hard material that we found in the textile Werkstatt. Also, we Placed the silicon tubes on top of it, so that we could shed the light through it. We also wanted to check whether the lights would be working with the tubes … Continue reading 7. Making the life-size prototype
6. Working in Werkstatt
Today was finally the week that we could work on developing our prototype in different workplaces. First, we visited the lab and Andreas helped us to lend LEDs and silicon stripes. Then, to test out the movement, we laser-cut the wooden material to make the silicon tubes to fit in. As we couldn't find the … Continue reading 6. Working in Werkstatt
5. Further prototyping
First we made a little hand-made prototype of how our wearable would look like. While making the further prototyping, we tried to form the initial wearable that we had as the idea. It was like a big collar, resembling the ornamental parts that can be found in nature. Paper was the first material that we … Continue reading 5. Further prototyping
4. Workshops and refining the idea
Workshops an inputs Andreas showing us the BBC documentary. There were a lot of workshops going on! First, we had Andreas and could work with the data that we collected in google and so on. I really enjoyed what he presented us which was a BBC documentary, as it made me think about the data … Continue reading 4. Workshops and refining the idea
